Last updated
Edit email templates with Sharetribe CLI
This tutorial shows you how to edit email templates using the Sharetribe Command-line interface.
Required skills:
- basic command line
- text editing
Table of Contents
Sharetribe CLI (Command-line interface) is a tool for changing your marketplace's advanced configurations such as transaction processes and email templates.
This guide expects that you have already installed Sharetribe CLI and are logged in with your API key. If not, it's recommended to first read the guide Getting started with Sharetribe CLI.
We also recommend that you go through the Edit transaction process with Sharetribe CLI tutorial to understand process pulling, editing, pushing, and alias handling on a general level.
In this tutorial we make a change to an email template that is used in sending notifications to your marketplace users as part of your transaction process. These transaction email template changes are also a form of process change, and they create a new version of your process. For email notifications not part of your transaction process, see the Built-in email notifications page in the Build > Advanced > Email notifications section of Console.
Information
For content-only changes, you can use the Console transaction email editor in Build > Content > Email texts.
Pull existing process
To edit the transaction email templates, you need to pull an existing
process with its templates. First, let's list all the processes of our
my-marketplace-dev marketplace:
flex-cli process list -m my-marketplace-devThe process list command prints out all the processes and their latest
versions. You want to pick the correct process and version from this
list. In this tutorial we will use the default-booking process,
version 1. You probably have different transaction processes in your
marketplace - so, you need to adjust this guide accordingly.
Let's pull that process version:
flex-cli process pull --process default-booking --version 1 --path process -m my-marketplace-devThis will create a process/ directory that has all the process files
in it:
process.ednfile, which describes the transaction processtemplatesdirectory, which contains all the transaction email templates for this process
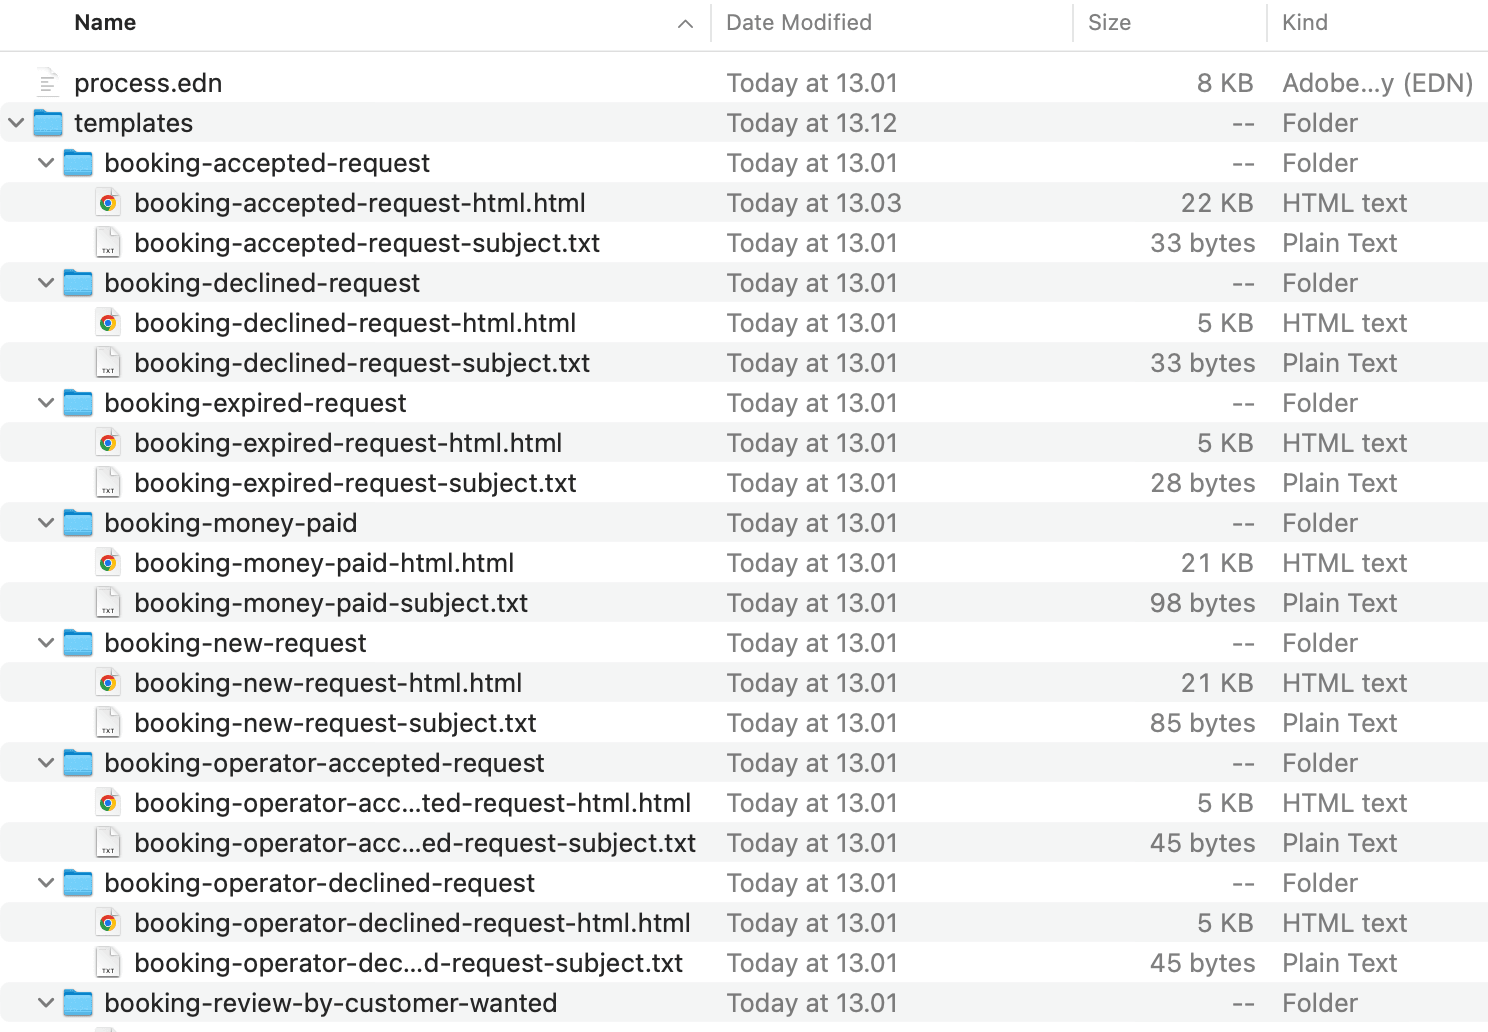
Templates directory
Let's see what we have in the process/ directory:
If you look at the :notifications key in the process.edn file, you
will see that the template directories and file names match the
:template values in the notifications:
:notifications
 [{:name :notification/booking-new-request,
   :on :transition/confirm-payment,
   :to :actor.role/provider,
   :template :booking-new-request}
  {:name :notification/booking-accepted-request,
   :on :transition/accept,
   :to :actor.role/customer,
   :template :booking-accepted-request}
  {:name :notification/booking-operator-accepted-request-to-customer,
   :on :transition/operator-accept,
   :to :actor.role/customer,
   :template :booking-accepted-request}
...
A template for a notification is a directory that is named after the
:template value and contains two files:
TEMPLATE_NAME-subject.txt- holds the mail Subject line templateTEMPLATE_NAME-html.html- contains the template for the HTML version of the mail
Both parts are mandatory. All emails that are sent from the marketplace contain both the HTML and plain text variants and the recipient's mail client is free to choose which one to visualize and how. The text version is automatically generated from the HTML template.
Example
For example, the :notification/booking-new-request notification:
{:name :notification/booking-new-request,
   :on :transition/confirm-payment,
   :to :actor.role/provider,
   :template :booking-new-request}
has the following template:
booking-new-request
├── booking-new-request-html.html
└── booking-new-request-subject.txt
Note that the template name (e.g. :booking-new-request) doesn't have
to match the notification name (e.g.
:notification/booking-new-request) as you can use the same template in
multiple notifications.
Email template syntax
The templates use Handlebars syntax.
Example HTML:
<!--
** First, set global variables for the whole file
-->
<html lang="en">
<head>
<meta http-equiv="Content-Type" content="text/html charset=UTF-8" />
</head>
<!--
** Define inline functions used in the file to format data
-->
<!--
** Use the #with helper to expose the attributes of the transaction to the enclosed block
-->
<table style="background-color:#FFF;margin:0 auto;padding:24px 12px 0;font-family:-apple-system, BlinkMacSystemFont, 'Segoe UI', 'Roboto', 'Oxygen', 'Ubuntu', 'Cantarell', 'Fira Sans', 'Droid Sans', 'Helvetica Neue', sans-serif" align="center" border="0" cellPadding="0" cellSpacing="0" role="presentation" width="100%">
<tbody>
<tr>
<td>
<table align="center" role="presentation" cellSpacing="0" cellPadding="0" border="0" width="100%" style="max-width:600px;margin:0 auto">
<tr style="width:100%">
<td>
<!--
** The email template uses the 't' helper for rendering content:
** - the first parameter is the message key
** - the second parameter is the fallback message, if the key in the first parameter does not exist
** - the following parameters are the variables used in the messages and their respective values
-->
<h1 style="color:#484848;font-size:26px;line-height:1.3;font-weight:700"></h1>
<p style="font-size:16px;line-height:1.4;margin:16px 0;color:#484848"></p>
...
<!--
** Omitted section renders the line items related to the transaction
-->
<p style="font-size:16px;line-height:1.4;margin:16px 0;color:#484848;font-weight:700"></p>
<p style="font-size:16px;line-height:1.4;margin:16px 0;color:#484848"></p>
<table style="padding:16px 0 0" align="center" border="0" cellPadding="0" cellSpacing="0" role="presentation" width="100%">
<tbody>
<tr>
<td><a href="/sale//" target="_blank" style="color:#FFF;background-color:#007DF2;border-radius:4px;font-size:15px;text-decoration:none;text-align:center;display:inline-block;min-width:210px;padding:0px 0px;line-height:100%;max-width:100%"><span><!--[if mso]><i style="letter-spacing: undefinedpx;mso-font-width:-100%;mso-text-raise:0" hidden> </i><![endif]--></span><span style="color:#FFF;background-color:#007DF2;border-radius:4px;font-size:15px;text-decoration:none;text-align:center;display:inline-block;min-width:210px;padding:16px 32px;max-width:100%;line-height:120%;text-transform:none;mso-padding-alt:0px;mso-text-raise:0"></span><span><!--[if mso]><i style="letter-spacing: undefinedpx;mso-font-width:-100%" hidden> </i><![endif]--></span></a>
<div>
<p style="font-size:14px;line-height:1.5;margin:16px 0;color:#484848"> <a target="_blank" style="color:#007DF2;text-decoration:none" href="/sale//">/sale//</a></p>
</div>
</td>
</tr>
</tbody>
</table>
<!--
** Close the 'with' block when transaction attributes are no longer needed
-->
<div>
<hr style="width:100%;border:none;border-top:1px solid #eaeaea;border-color:#E1E1E1;margin:20px 0" />
<p style="font-size:12px;line-height:15px;margin:0 auto;color:#b7b7b7;text-align:left;margin-bottom:50px"></p>
</div>
</td>
</tr>
</table>
</td>
</tr>
</tbody>
</table>
</html>Variables within {{ }} are expanded and escaped, so that they are safe
to place inside HTML content. As seen above, some variables have nested
values, which can be accessed with dot . operator.
In the example above, the #with block helper is used to access
properties of the email context top level property transaction. So
customer.display-name within the {{#with transaction}} block will
refer to the value of transaction.customer.display-name in the email
context.
The template syntax supports conditionals, loops, helpers and other constructs. For details on the Handlebars constructs and a full description of the email context, see the Email templates reference.
Change a template
Let's change the email template for new booking requests.
Open the booking-new-request/booking-new-request-html.html file in a
text editor. Let's change the color of the "Accept or Decline the
booking" button (line breaks added for clarity):
<a
href="{{marketplace.url}}/sale/{{url-encode id}}/"
target="_blank"
style="color:#FFF;background-color:#007DF2;border-radius:4px;font-size:15px;
text-decoration:none;text-align:center;display:inline-block;min-width:210px;padding:0px 0px;
line-height:100%;max-width:100%"
>
<span>
<!--[if mso]>
<i style="letter-spacing: undefinedpx;mso-font-width:-100%;mso-text-raise:0" hidden> </i>
<![endif]-->
</span>
<span
- style="color:#FFF;background-color:#007DF2;border-radius:4px;font-size:15px;
+ style="color:#FFF;background-color:#7C3AED;border-radius:4px;font-size:15px;
text-decoration:none;text-align:center;display:inline-block;min-width:210px;
padding:16px 32px;max-width:100%;line-height:120%;text-transform:none;mso-padding-alt:0px;
mso-text-raise:0"
>
{{t "BookingNewRequest.AcceptOrDeclineLink" "Accept or Decline the booking"}}
</span>
<span>
<!--[if mso]>
<i style="letter-spacing: undefinedpx;mso-font-width:-100%" hidden> </i>
<![endif]-->
</span>
</a>When you've made the change, save the file.
Preview your changes
You can test your changes and templates by previewing or sending a test email using your local template files. To preview the change above:
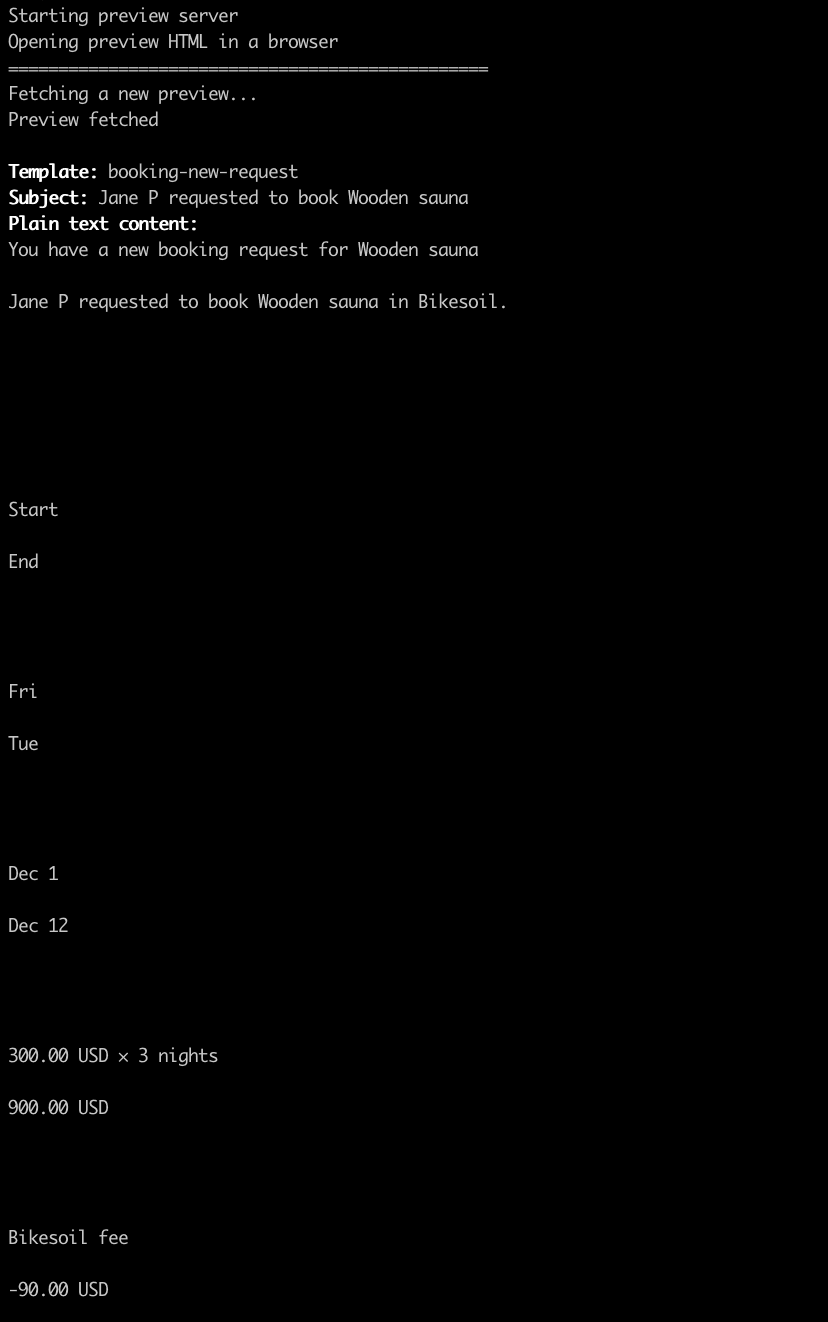
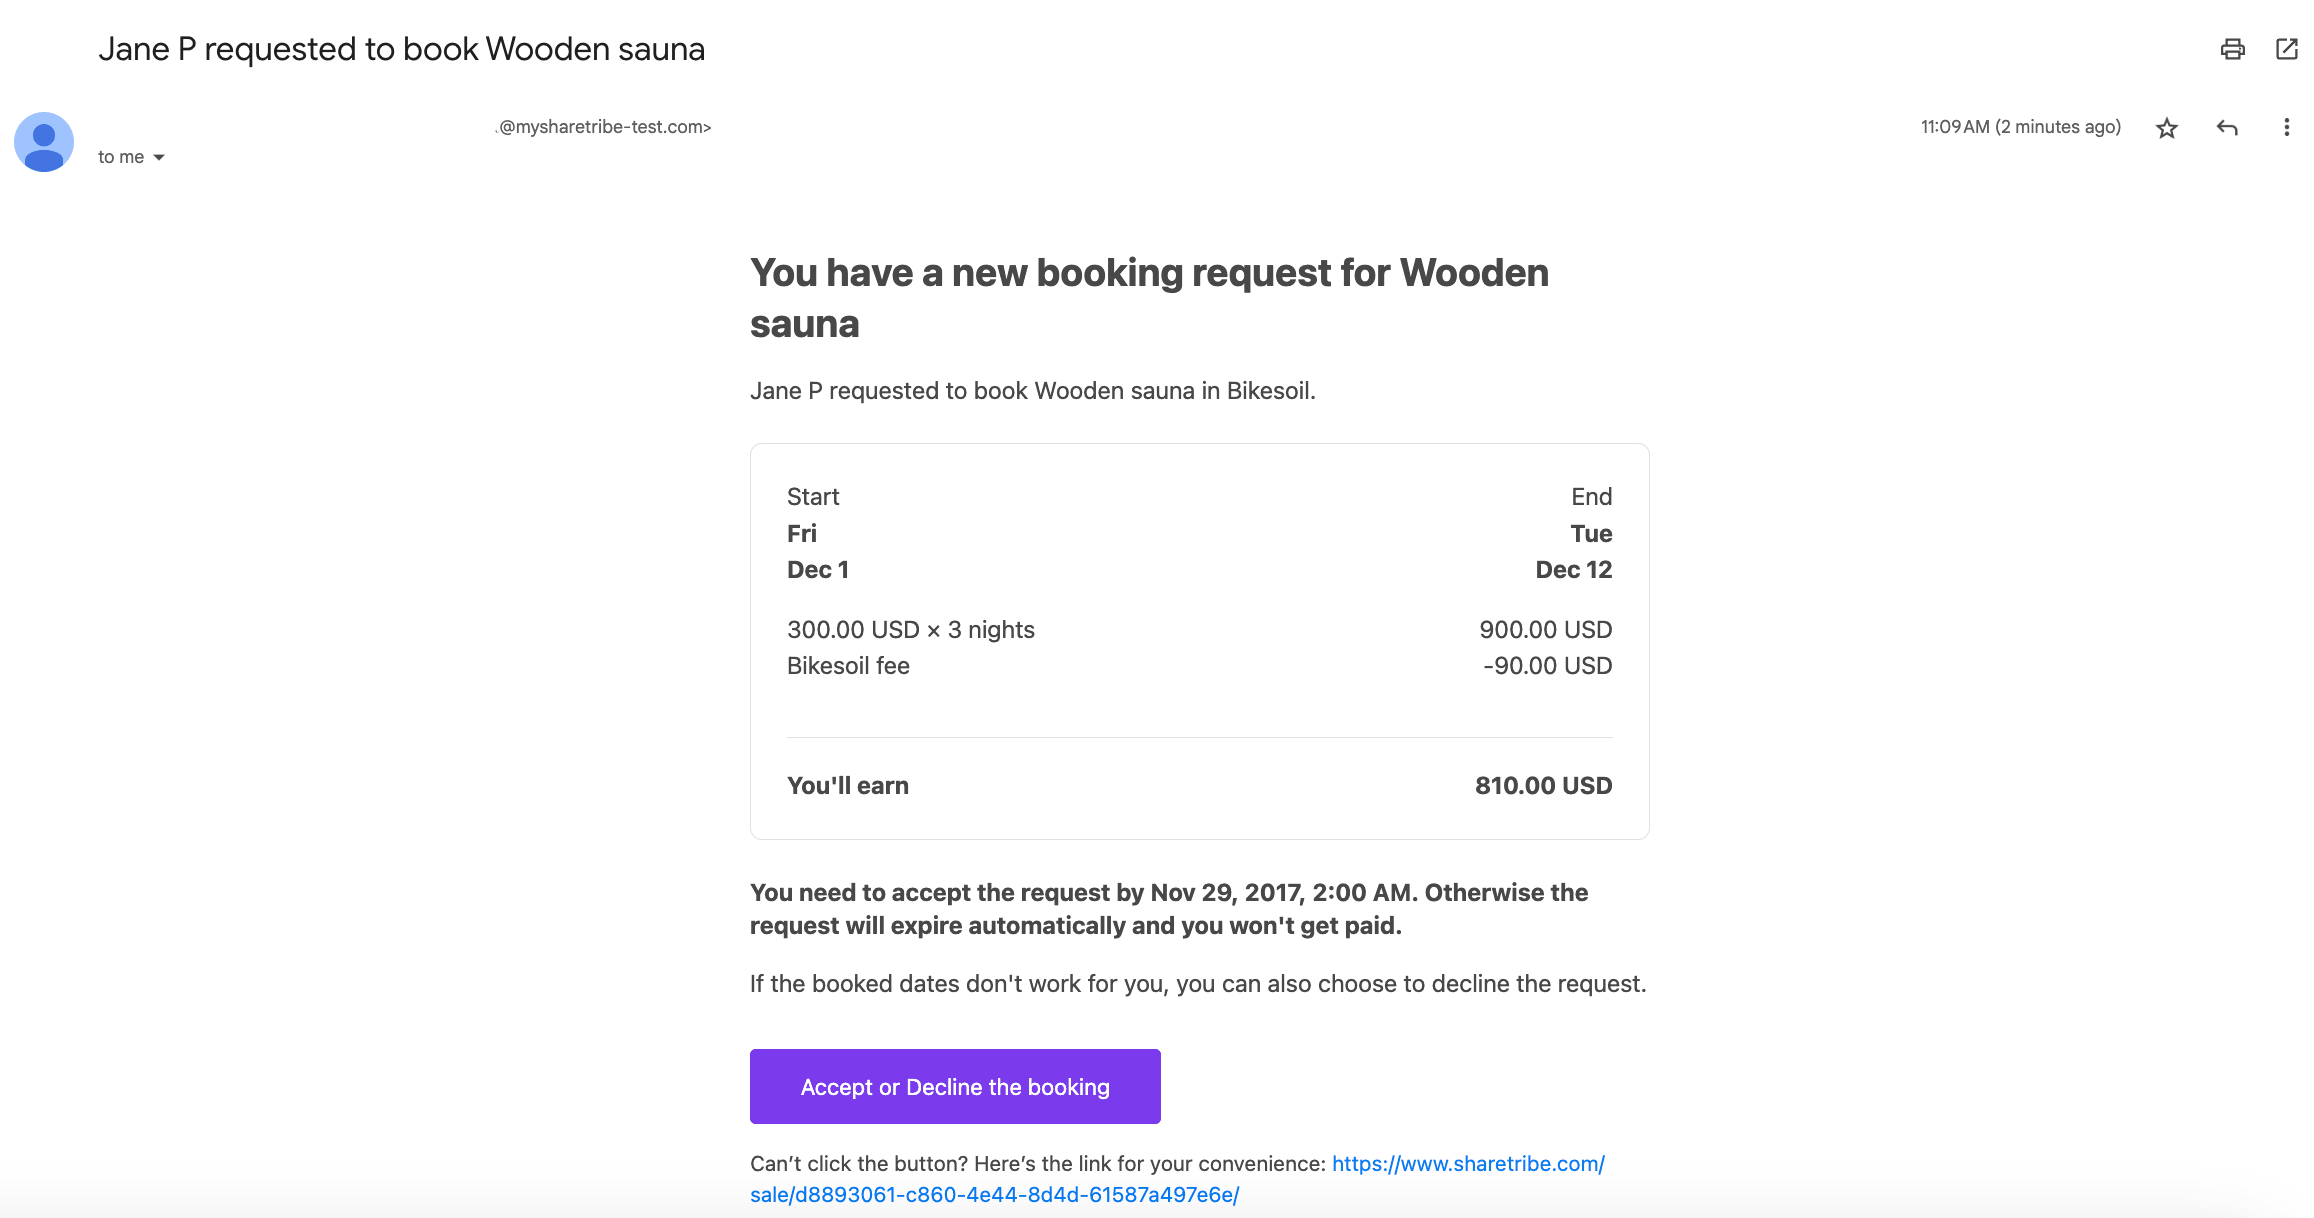
flex-cli notifications preview --template process/templates/booking-new-request -m my-marketplace-devThe command will render the given template using a sample data (context) and open a browser tab with the output HTML:

It will also output the rendered text version to the terminal:
You can now use your normal browser developer tooling to test changes to the template and verify how the responsiveness of the content works. When you make changes to the template, you can just refresh the browser and see the updated preview.
Sending a preview email
If you want to verify the email in an email client software, you can also send the test preview email:
flex-cli notifications send --template process/templates/booking-new-request -m my-marketplace-devThe email is sent to the email address of the admin user that was used in logging in to the CLI:
Sample email context
As you see from the previews above, the templates are rendered with the
fixed sample context. The notifications preview and
notifications send commands also support an optional --context
option that can be used to pass in a custom context JSON.
You can see the default context JSON here: sample-template-context.json
To change the data that is used for previews, download the sample JSON file and make edits to it:
    "customer" : {
      "id" : "ef7f40d5-da66-489a-957b-641313b68204",
      "first-name" : "Jane",
      "last-name" : "Pritchett",
-     "display-name" : "Jane P",
+     "display-name" : "Mary P",
You can then pass the changed context file to the preview command:
flex-cli notifications preview --template process/templates/booking-new-request --context sample-template-context.json -m my-marketplace-devNow you will see the preview with the context data that you edited:
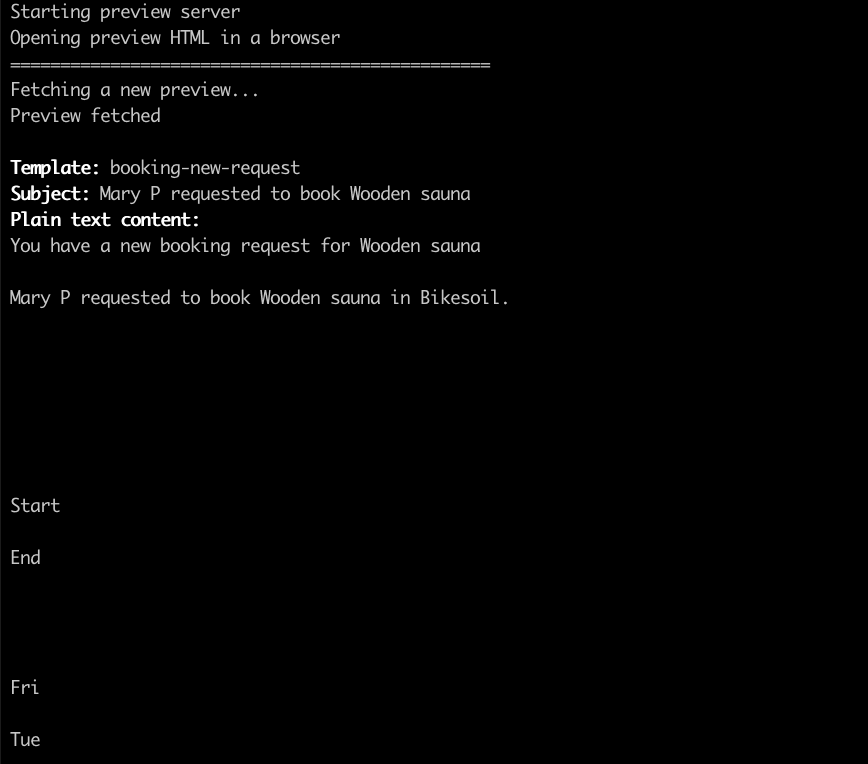
You can use the sample-template-context.json file as a base and test how your templates behave with different content or custom extended data etc.
Push new version
Now that you have edited the email templates, you need to push a new version of your process:
flex-cli process push --path process --process default-booking -m my-marketplace-devYou can see the new version in Console or using the process list
command:
flex-cli process list --process default-booking -m my-marketplace-devUpdate alias
As you saw from Console or from the process list command above, there
isn't an alias pointing to the latest process version. To allow
Sharetribe Web Template or other apps to use the new process version
through the Marketplace API, you will need an alias to point to the
version.
In our default-booking example process there is a release-1 alias.
Let's update that to point to the new process version:
flex-cli process update-alias --process default-booking --alias release-1 --version 2 -m my-marketplace-devTo see the updated alias, run the process list command again:
flex-cli process list --process default-booking -m my-marketplace-devSummary
In this tutorial we changed an email template in an existing process. We then pushed the changes to a new version and updated the alias to point to that version.
This is the generic workflow to update the notification email contents that are part of the transaction process of your marketplace.
With this and the Edit transaction process with Sharetribe CLI guide, you now know how to change the transaction process and its email templates. As a next step, you might want to read the Transaction process format reference article.