Set up outgoing email settings
Setting up reliable email delivery is crucial for your marketplace to work properly. It is also important to brand your email sending name and address to look professional and polished.
We offer two ways of managing email sending from your marketplace. The default option is to rely on a managed service offered by default in Sharetribe.
If you wish to obtain more flexibility and control over your email sending, you can also integrate Sharetribe with your own SendGrid account.
Managed setup
Sharetribe uses SendGrid as an email service provider. By default, we manage your SendGrid account and settings automatically, and the costs are included in your Sharetribe subscription.
You can find instructions for configuring your outgoing email address in the Sharetribe help center .
Learn how to configure your outgoing email address
Configure a DMARC policy
Starting in February 2024, Google and Yahoo are rolling out changes to bulk email sender requirements. Their aim is to guarantee a more secure experience and a less spammy inbox for email recipients.
When following the DNS configuration instructions in our help center, your domain is already configured properly for SPF and DKIM authentication. However, setting up a DMARC policy is recommended, especially if there is significant amount of email sent daily for your domain. Without one, email deliverability to GMail and Yahoo addresses from your domain may be worse.
Setting up a DMARC policy involves adding a DNS record for the name
_dmarc in your domain. For example, if your domain is example.com,
then the DNS record should be for the name _dmarc.example.com. The
type of the record must be TXT. The value of the record can be
different depending on your or your organization’s requirements. If
unsure, use the following value as your DMARC policy:
v=DMARC1; p=none. This is a minimal neutral DMARC policy.
For example, for example.com the record would be:
| type | name | value |
|---|---|---|
| TXT | _dmarc.example.com | v=DMARC1; p=none |
Note that depending on your DNS hosting provider, the domain name may be
added automatically to any records you create. In that case you need to
use just _dmarc as the record name, without the domain name. You may
also need to place the value in quotes: "v=DMARC1; p=none".
Using a strict DMARC policy
If you prefer to set a more strict DMARC policy, you can do so. Note,
however, that Sharetribe’s email integration requires that the DMARC
policy specifies “relaxed alignment” for SPF and DKIM checks. This means
you should NOT configure a policy with the values aspf=s (strict SPF
alignment) or adkim=s (strict DKIM alignment).
Using your own SendGrid account
In addition to using the managed email sending, you have the option to choose to use your own SendGrid account by integrating it with Sharetribe. You might want to do this because:
- You want to see exactly what emails are sent from your marketplace and fix problems (like bounces) with users’ email addresses.
- You want to see open rates and other statistics about the email notifications that were sent.
- You are also using SendGrid for your newsletters and other marketing emails, and want to have all your email-related data in one place.
- You want to use your own IP address for email sending and reputation.
If you’d prefer to get access to such features and statistics, this is possible by connecting your own SendGrid account to Sharetribe. Just remember that doing this means you’d be subject to SendGrid’s standard pricing for all outgoing emails.
Follow the steps below to set up your own SendGrid account for email sending:
Create an API key in SendGrid
Please, refer to the SendGrid instructions on key management .
You should create a key with Restricted Access with Mail Send
configured with Full Access permission. Make sure that your key has
the correct permission in place, otherwise email sending from Sharetribe
will not work. Make note of the key while creating it, it will be shown
only once.
Also, you need to make sure that you have configured your domain in SendGrid by following their instructions on how to configure domain authentication .
Enable using own SendGrid key in Sharetribe Console
Log in to your Console, and select your Live environment. There are two options for integrating SendGrid. You can do it during the initial setup of the marketplace or later if you wish to change from managed setup to using your own SendGrid account.
During initial setup
Go to the General > Outgoing email address page in the Build section. You will see a choice between managed email sending or Advanced Setup:
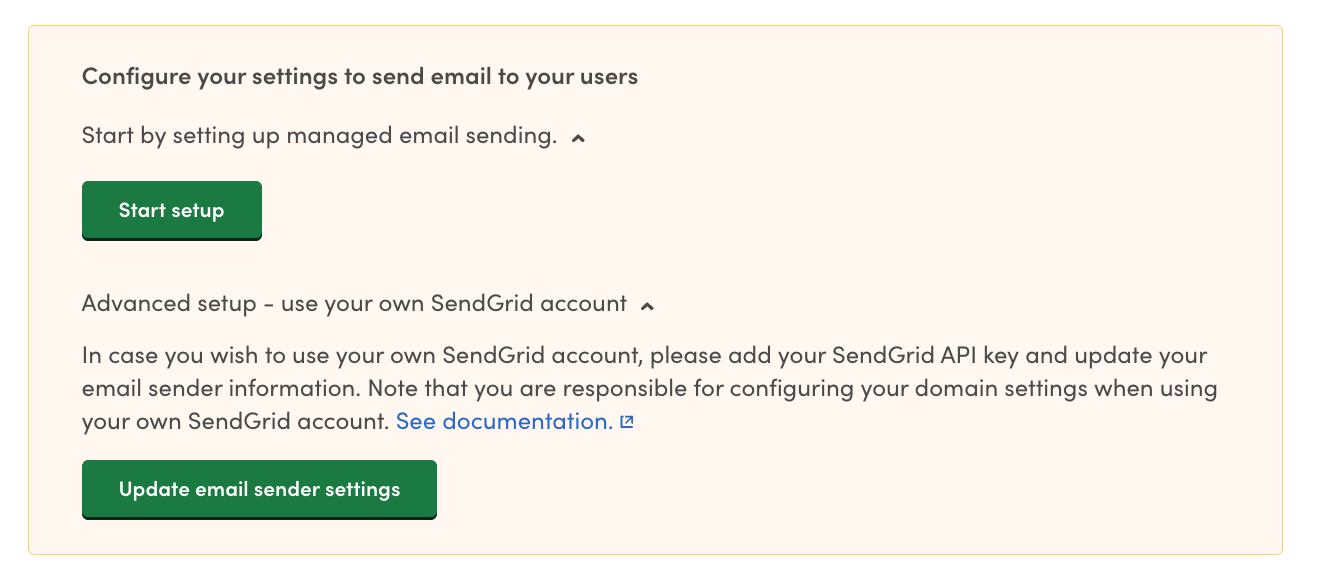
Choose “Update email sender settings” and you will be able to add your SendGrid API key. Submit the form and the setup is complete.
Changing from one email sending mode to another
If you have previously completed the outgoing email settings for one type of email sending, and you want to switch to another type, please contact our support.