Set up Stripe for a custom developed marketplace
Both Sharetribe API and your client app need to be able to connect with Stripe API. Stripe has two different keys:
- Secret key for server-side requests
- Publishable key for calls from web browser
Sharetribe API uses the Stripe secret key to make payment-related
requests when a transaction moves forward. The client app needs to use
the Stripe publishable key to run the stripe.js script. The script has
two main functions: it has fraud detection built in, and it is also used
to save sensitive information directly to Stripe. For instance, a
customer’s credit card number is saved directly to Stripe.
Setting up Stripe for your custom developed marketplace
First, follow these instructions to set up your Stripe account. If you already have a Live environment, you have most likely completed these steps already.
When setting up your marketplace for a custom developed app, you will need to add the Stripe secret key in your Console, and your publishable key in your custom app. You need to do this setup separately for each environment that you are connecting with a custom developed app.
Get your Stripe keys
Next, retrieve your Stripe API keys in your Stripe Dashboard API Keys tab .
For your Test and Dev environments, you will use Sandbox keys, and for your Live environment, you will use Live keys. Sandbox keys start with pk_test (publishable key) and sk_test (secret key). Live keys start with pk_live (publishable key) and sk_live (secret key).
See Stripe’s explanation of key types:
Add your secret key to your Console
Next, you need to add your secret key in your Console.
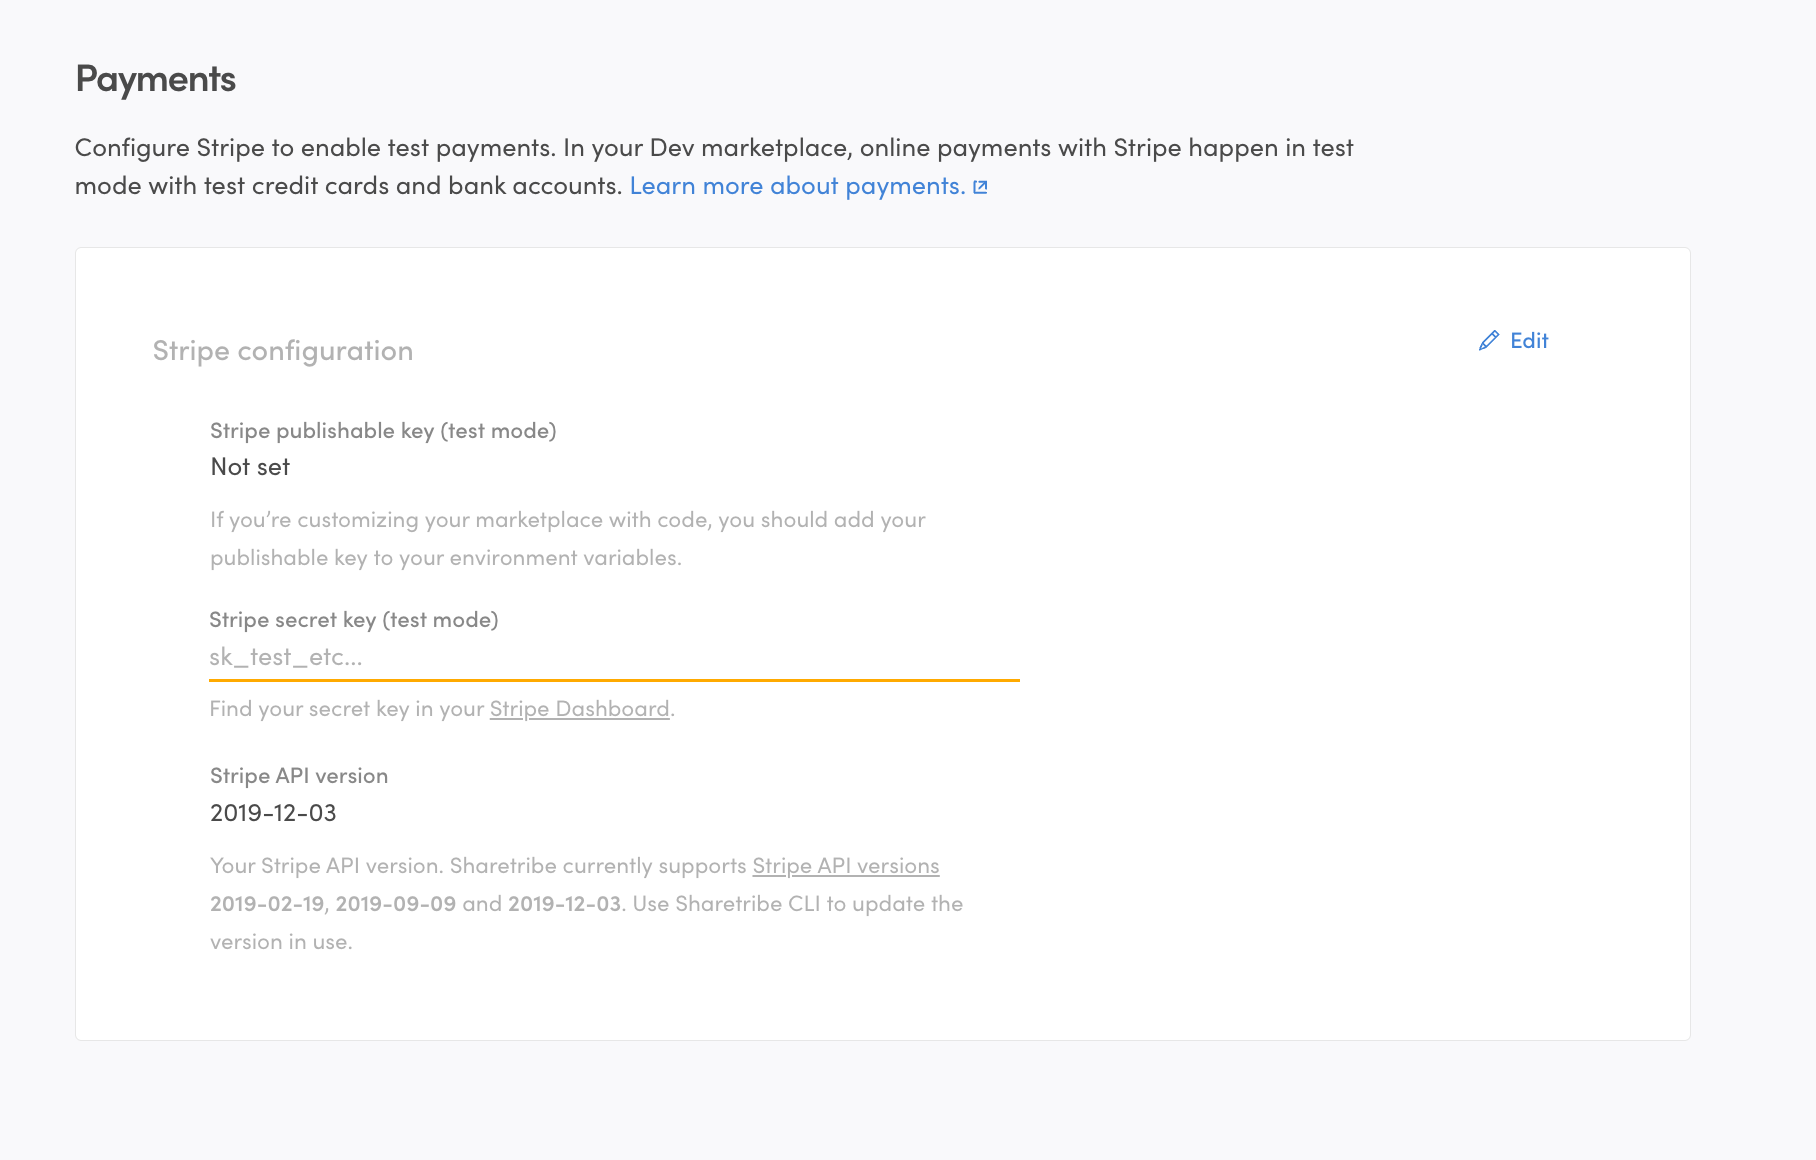
- Log in to Console and go to Build > Integrations > Payments.
- In the section “Stripe configuration”, add your secret key to the “Stripe secret key” field and save your changes.
The secret key and publishable key need to match each other. You can’t use a publishable key from a different Stripe account than the secret key - or mix test keys and live keys.
Add your publishable key to your application
In your client application, you need to use Stripe publishable key when you are making API calls to Stripe. If you are using the Sharetribe Web Template, the default calls to Stripe API are already there, but you need to add the Stripe publishable key to your .env file.
You can do this in two ways:
- by running yarn run config
- or editing the .env file directly in a text editor
The environment variable for setting the Stripe publishable key is REACT_APP_STRIPE_PUBLISHABLE_KEY.
Read more about configurations in the Sharetribe Web Template in Template environment variables.