How to set up OpenID Connect proxy in Sharetribe Web Template
The OpenID Connect (OIDC) support in Sharetribe allows you to integrate login solutions that do not necessarily implement OpenID Connect. The idea is to build a suitable login flow in Sharetribe Web Template and wrap that login information into an OpenID Connect ID token that can be used to validate user login in Sharetribe. With this approach, the template will serve as an identity provider towards Sharetribe.
Sharetribe verifies the ID token by
- fetching the JSON Web Key that is hosted by your template server, and
- using that to unsign the token.
A consequence of this is that the JSON Web Key needs to be publicly available. This means that the proxy setup will not work directly in localhost. To test out the Github login, you should e.g. deploy your template changes to Render.
In this guide, we’ll integrate Github login to Sharetribe by using Sharetribe Web Template as an OIDC proxy to Sharetribe.
The main steps to take to achieve this are:
Create an OAuth app in Github
Configure a new identity provider and client in Sharetribe Console
Build Github auth flow in the template
A note about development environments
For OpenID Connect (OIDC) identity providers, Sharetribe supports RSA signed ID tokens. RSA is an asymmetric signing function. Therefore, all OIDC identity providers will need to provide their URL (also known as issuer location) to Sharetribe so that public signing keys can be fetched for ID token validation.
When using Sharetribe Web Template as an OIDC proxy, it should be served
publicly, so that Sharetribe can fetch the public signing key used to
sign ID tokens used with authentication. This means that when developing
OIDC proxy capabilities, by default, a template application running in
localhost can not be used as an OIDC proxy but the application should
be deployed, for example, to a staging environment.
If you want to develop this functionality complete locally, take a look at tools like Ngrok or Localtunnel that allow exposing your local ports publicly.
When serving the template via Ngrok, you’ll want to make sure the
issuerUrl matches the URL generated by Ngrok where your site is
accessible. This might default to localhost if your NODE_ENV variable
is set to development.
If you’re using the yarn run dev-server command to run the template,
this command overwrites the REACT_APP_MARKETPLACE_ROOT_URL specified
in the .env file. Ensure you update the command to match the URL where
your site is being served through Ngrok.
Create an OAuth app in Github
Head to Github developer settings
Head to Github developer settings . A Github account is required.
Register a new application
Select “OAuth apps” in the left sidebar, and click “Register a new application”.
Add application details
Add application name and homepage URL. The name and URL are used to identify your application to the people signing in.
Add Authorization callback URL
Add the Authorization callback URL:
<your marketplace URL>/api/auth/github/callback. So for example,
https://www.mymarketplace.com/api/auth/github/callback
Register the application
Click “Register application”.
Generate client secret
Generate a client secret, and make a note of the client ID and client secret. You will need these values later on.
Configure a new identity provider and client in Sharetribe Console
With this proxy implementation, your Sharetribe Web Template works as the identity provider towards Sharetribe. Sharetribe uses your template application to validate the ID token that wraps the Github login information. To enable logins in Sharetribe using the OIDC proxy, a corresponding identity provider and identity provider client need to be configured for your marketplace in Sharetribe Console. See the OpenID Connect how-to guide for information on how to add a new identity provider for your marketplace.
Here’s some guidance for configuring your template application as a new identity provider and a client to be used as a proxy for Github.
Identity provider name and ID
The identity provider ID is generated based on the name of the IdP. The ID will be passed to the Sharetribe API when creating a user or logging in using the proxy. When a user logs in with an identity provider, their identity provider profile is linked to their user account and this relationship is exposed in the currentUser resource in the Sharetribe API.
If the intention is to use the Sharetribe Web Template to proxy login to multiple services, it’s advised to create a distinct identity provider for each, and name them so that the ID indicates what is the actual service providing the authentication. In Github’s case the IdP name could be “Template Github” or “Template Github Proxy”.
Identity provider URL
Based on this URL, Sharetribe determines the path to an OpenID Connect discovery document ([identity provider URL]/.well-known/openid-configuration) and from there on to an ID token signing key.
In Open ID Connect terms, this is the issuer URL. In this setup, your Sharetribe Web Template acts as the issuer towards Sharetribe, so the URL should point to your template.
By default, the identity provider URL should be the root address of your
template application, for example, https://example.com or, for default
Render URLs, https://EXAMPLE.onrender.com. Note, that this URL needs
to be publicly hosted so a localhost URL will not work.
Client ID
When using Sharetribe Web Template as on OpenID Connect proxy, you are in charge of generating a client ID. The value can be any randomly generated string.
Build Github auth flow in Sharetribe Web Template
Sharetribe Web Template as an OpenID Connect identity provider
The Sharetribe Web Template provides a few helper functions which you
can use as a starting point in your customization. When following this
guide, you will not need to pay too much attention to them as the
crucial code is provided for you in the github.js file below, but it’s
good to be aware of them. You can find these functions in the
api-util/idToken.js file in your server:
- idToken.js
createIdToken
Turns information fetched from a 3rd party identity provider (e.g. Github) info a signed JSON Web Token (JWT).
This function expects three parameters: idpClientId, user and options.
- idpClientId is the client id of your custom identity provider you have set up in Console:
- user object should contain at least firstName, lastName, email and emailVerified fields. If these fields are not provided in the identity provider token, the user will need to enter them manually.
- options object contains information about how the id token should be signed and the keys required for that. Currently, Sharetribe supports only RS256 signing algorithm so the options object should look like this:
{ signingAlg: 'RS256', rsaPrivateKey, keyId }openIdConfiguration and jwksUri
These functions can be used to serve an OpenID Connect discovery document and JSON Web Keys that are used by Sharetribe to validate the ID token written by your proxy implementation. Sharetribe Web Template will automatically use these functions to expose correct endpoints when JWT signing keys are configured.
Generate an RSA key pair
A RSA public and private key pair is used to sign and validate an ID
token that is passed from the template application to Sharetribe during
the login/signup flow. When a user successfully logs into Github, the
template wraps the user information to an ID token that is signed with a
private key. The corresponding public key is served by the template in
/.well-known/jwks.json and it is fetched by Sharetribe when an ID
token is validated.
In order for the Sharetribe Web Template to operate as an OpenID Connect identity provider, you will need to generate a RSA key pair. Both keys need to be in PEM format.
The keys can be generated with ssh-keygen command line tool by running
the following commands. The first one will generate a key pair, with the
private key in PEM format and the public key in SSH public key format.
The second command will create a public key in PEM format based on the
public key file from the first command.
# create an RSA key pair, you can leave out the passphrase when prompted
ssh-keygen -f swt_rsa -t rsa -m PEM

# now you have two files
# swt_rsa: private key in PEM format
# swt_rsa.pub: public key in SSH public key format

# convert the public key from previous command to PEM format
ssh-keygen -f swt_rsa.pub -e -m PEM > swt_rsa_pub
Now you have two files: swt_rsa and swt_rsa_pub (also you have
swt_rsa.pub but that one you don’t need). The content of the files
should look like the following:
# swt_rsa

-----BEGIN RSA PRIVATE KEY-----
private key
value
here
-----END RSA PRIVATE KEY-----


# swt_rsa_pub

-----BEGIN RSA PUBLIC KEY-----
public key
value
here
-----END RSA PUBLIC KEY-----
We will use these key values to configure your application in the next section.
Configure Sharetribe Web Template
Add the following environment variables:
REACT_APP_GITHUB_CLIENT_ID and GITHUB_CLIENT_SECRET
Set these as the client ID and client secret of your Github app.
RSA_PRIVATE_KEY and RSA_PUBLIC_KEY
The RSA key pair we created in the previous section
The keys are multi-line strings but Heroku is fine with that so you can
paste the keys in config vars as they are. Make sure to include the
-----BEGIN ... KEY----- and -----END ... KEY----- lines in your
environment variables, as they are a part of the key.
If you are using Render or some other environment that requires you to
declare environment variables through a file, wrap the RSA keys with
quotation marks " and escape line breaks with the newline character
\n. Make sure that the RSA key is defined on a single line.
GITHUB_PROXY_IDP_ID
The identifier of your identity provider that you configure to Sharetribe. It declares that you are using your template OpenID Connect proxy as an identity provider. Use the “IdP ID” value of an identity provider client in Console for this variable.
GITHUB_PROXY_CLIENT_ID
The client ID of your identity provider client that you configure to Sharetribe. Use the “Client ID” value of an identity provider client in Console for this variable.
KEY_ID
The value will be used as the kid header in ID tokens that are passed
to Sharetribe when a user logs in with Github. It is also used as the
kid attribute of the JSON Web key that the proxy serves in an
endpoint. Even though using a kid value in your keys is not
compulsory, we heavily recommend using it with your token and the JWK.
For example, key caching in the Sharetribe API relies heavily on it.
This value can be a random string.
Add Passport module dependency
We are using Passport.js library for handling the authentication with different identity providers like with Facebook and Google. The library offers multiple authentication strategies and there’s also a strategy for Github , which we are going to use in this example.
Run the following command in your terminal to install the package:
yarn
yarn add passport-github2 Implement the Github login flow in Sharetribe Web Template backend
Next, let’s add a new file to the template that handles authentication to Github. You can find the complete file here:
Place the file in the server/api/auth folder:
- github.js
The biggest difference between Github login and e.g. Facebook login, which has first-class support in Sharetribe, is that we need to use a createIdToken helper function in verifyCallback to create the id token from the information we fetched from Github. This new id token is then passed forward to Sharetribe as idpToken parameter.
Now we’ll need to expose login endpoints that invoke functions provided
by the github.js file.
In server/apiRouter.js, add the following import:
const {
  authenticateGithub,
  authenticateGithubCallback,
} = require('./api/auth/github');
And after all the router.* invocations, add Github login routes:
// This endpoint is called when the user wants to initiate authentication with Github
router.get('/auth/github', authenticateGithub);

// This is the route for callback URL the user is redirected after authenticating
// with Github. In this route a Passport.js custom callback is used for calling
// loginWithIdp endpoint in Sharetribe API to authenticate user to Sharetribe
router.get('/auth/github/callback', authenticateGithubCallback);
Finally, on the server side we need to update
server/api/auth/createUserWithIdp.js so that a correct IdP client ID
is passed to the Sharetribe API. In the beginning of the file resolve
the following environment variables:
const GITHUB_PROXY_CLIENT_ID = process.env.GITHUB_PROXY_CLIENT_ID;
const GITHUB_PROXY_IDP_ID = process.env.GITHUB_PROXY_IDP_ID;
And update the logic that resolves the idpClientId variable:
const idpClientId =
  idpId === FACEBOOK_IDP_ID
    ? FACEBOOK_APP_ID
    : idpId === GOOGLE_IDP_ID
      ? GOOGLE_CLIENT_ID
      : idpId === GITHUB_PROXY_IDP_ID
        ? GITHUB_PROXY_CLIENT_ID
        : null;
Add a Github login button to Sharetribe Web Template
Once we have added the authentication endpoints to the template server, we need to add a button for Github login to the AuthenticationPage.
- SocialLoginButtons.js
We can once more use the existing Google and Facebook login code as an example. You will need to add a showGithubLogin prop and pass it down alongside showFacebookLogin and showGoogleLogin, and add showGithubLogin to the showSocialLogins logic so that the button gets shown correctly.
Then, create a function authWithGithub similar to authWithGoogle and authWithFacebook, which adds the default URL parameters to the API call and then redirects user to the authentication endpoint.
const authWithGithub = () => {
const { baseUrl, queryParams } = getDataForSSORoutes();
window.location.href = `${baseUrl}/api/auth/github?${queryParams}`;
};
const githubAuthenticationMessage = isLogin ? (
<FormattedMessage id="AuthenticationPage.loginWithGithub" />
) : (
<FormattedMessage id="AuthenticationPage.signupWithGithub" />
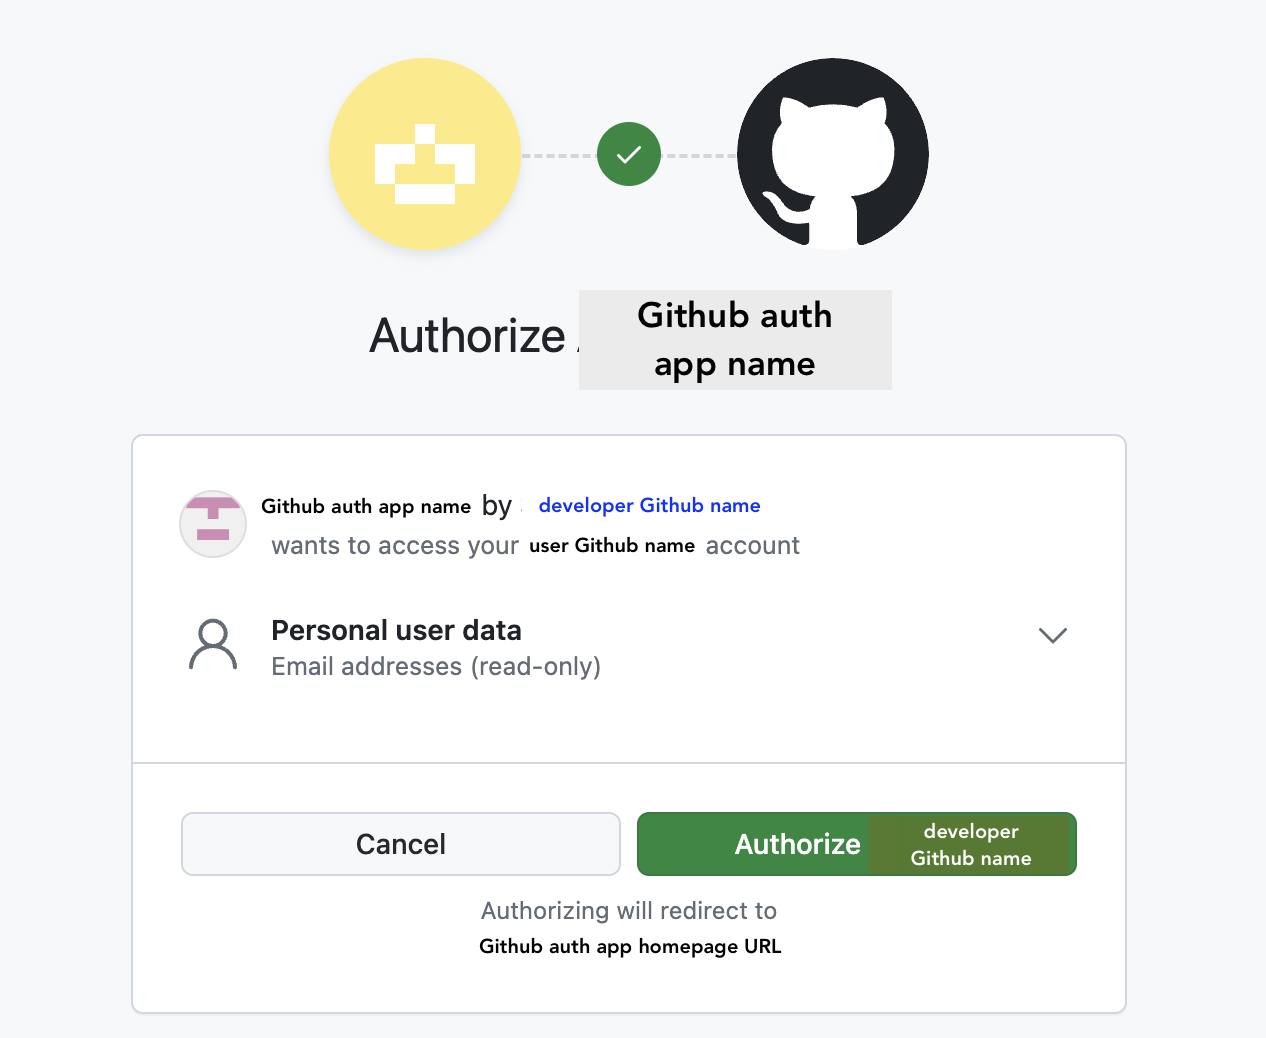
);Then we can use the SocialLoginButton component to show the option to log in with Github to the users. Remember to add the Github related marketplace text keys as well as the Github logo too! Usually, different identity providers have brand centers where you can find the logos and guidelines how to use them. You can download the Github logo from Github’s site .
{
  showGithubLogin ? (
    <div className={css.socialButtonWrapper}>
      <SocialLoginButton onClick={() => authWithGithub()}>
        <span className={css.buttonIcon}>
          <GithubLogo ariaLabelledBy="github-authentication-msg" />
        </span>
        <span id="github-authentication-msg">
          {githubAuthenticationMessage}
        </span>
      </SocialLoginButton>
    </div>
  ) : null;
}
In the AuthenticationPage component, the idp const defines what is
presented as the name of the identity provider in the sign up confirm
page. By default, it uses the IdP ID stored in a cookie with a
capitalized first letter. In case that is not sufficient approach given
the IdP ID in use, a custom name for the identity provider can be used
by, for example, by comparing the IdP ID in the cookie to the one used
by your proxy IdP and overriding the default when suitable.
That’s it! In order to integrate some other identity provider, implement
their authentication flow using Passport.js or some other method and use
the utility functions in api-util/idToken.js accordingly to wrap the
login information into an OpenID Connect ID token that can be used to
log in to a Sharetribe marketplace.
Troubleshooting your integration
If your integration is not working as you would expect, we recommend that you check these things:
Inspect the id token
You can log the idpToken created with the createIdToken function, and
then paste it to JWT.io to investigate what data is
being included in the token. Make sure that any claims you are sending
correspond to the
Open ID Connect standard claims .
If there are claims missing, make sure that you are passing valid parameters when creating the token in idToken.js .
Make sure your .well-known endpoints are available in the correct address
Check that your deployed application exposes [your-marketplace-url]/.well-known/openid-configuration and [your-marketplace-url]/.well-known/jwks.json endpoints, and that [your-marketplace-url] exactly matches the IdP URL defined for your identity provider client in Console
Double check your RSA key formatting
Your RSA keys need to be correctly formatted in your deployment:
- Include the
-----BEGIN ... KEY-----and-----END ... KEY-----lines in your environment variables - If you are passing a secret file (such as with Render), format the key
into a single string and replace line breaks with
\n - If you are passing a multi-line environment variable (such as with Heroku), copy the key with line breaks as-is.
- If you are running the template via ngrok and serving the RSA keys
through environment variables, you might encounter an issue where the
raw \n character is not treated as a newline character. This can lead
to errors when trying to read the private or public key. To fix this,
you can replace the raw \n character with the actual newline
character. You can achieve this by using
key.split(String.raw\n).join('\n')